Sports
50 Companies Wanting to Sponsor Athletes in Youth Sport
Created by
Vince Ocampo
•
Jul 4, 2025
•
1
min read
Sports
50 Companies Wanting to Sponsor Athletes in Youth Sport
Created by
Vince Ocampo
•
Jul 4, 2025
•
1
min read
Sports
How to Run a Standout Tournament with TeamLinkt
Created by
Vince Ocampo
•
Jun 25, 2025
•
1
min read
Sports
How to Run a Standout Tournament with TeamLinkt
Created by
Vince Ocampo
•
Jun 25, 2025
•
1
min read
Sports
Are Youth Sports Too Competitive?
Created by
Vince Ocampo
•
Jun 17, 2025
•
1
min read
Sports
Are Youth Sports Too Competitive?
Created by
Vince Ocampo
•
Jun 17, 2025
•
1
min read
Sports
Tournaments
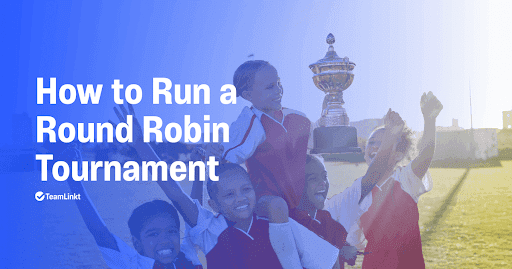
How To Run a Round Robin Tournament
Created by
Vince Ocampo
•
May 27, 2025
•
1
min read
Sports
Tournaments
How To Run a Round Robin Tournament
Created by
Vince Ocampo
•
May 27, 2025
•
1
min read
Features
AI Solutions
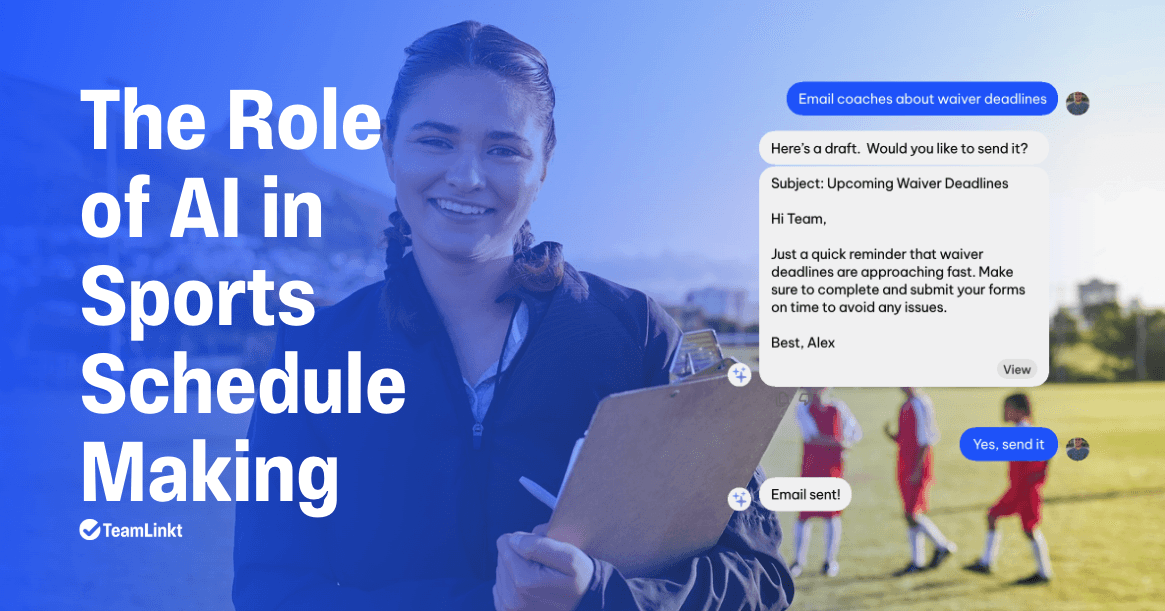
The Role of AI in Sports Scheduling: Making Youth Sports Organization Easier
It's no secret, AI is transforming youth sports management! Learn how TeamLinkt's AI assistant, Emi, simplifies scheduling, registration, and communication for a seamless experience.
Created by
Tammi Maharaj
•
Jan 30, 2025
•
1
min read
Features
AI Solutions
The Role of AI in Sports Scheduling: Making Youth Sports Organization Easier
It's no secret, AI is transforming youth sports management! Learn how TeamLinkt's AI assistant, Emi, simplifies scheduling, registration, and communication for a seamless experience.
Created by
Tammi Maharaj
•
Jan 30, 2025
•
1
min read

Features
AI Solutions
How Artificial Intelligence Is Transforming the Sports Management Industry
Discover how AI is transforming sports management! From automating admin tasks to optimizing decisions, learn how TeamLinkt’s AI assistant, EMI, enhances efficiency and streamlines operations.
Created by
Tammi Maharaj
•
Oct 9, 2024
•
1
min read

Features
AI Solutions
Soccer
TeamLinkt's New AI Assistant Emi is Revolutionary for Youth Soccer Organizations
TeamLinkt's new AI assistant, Emi, is changing the game when it comes to managing youth soccer organizations. Let's explore how Emi can streamline your processes and make your life easier.
Created by
Tammi Maharaj
•
Sep 18, 2024
•
1
min read
All
Announcements
Case Studies
Competitors
Features
Sports
Sports
50 Companies Wanting to Sponsor Athletes in Youth Sport
Created by
Vince Ocampo
•
Jul 4, 2025
•
1
min read
Sports
How to Run a Standout Tournament with TeamLinkt
Created by
Vince Ocampo
•
Jun 25, 2025
•
1
min read
Sports
Are Youth Sports Too Competitive?
Created by
Vince Ocampo
•
Jun 17, 2025
•
1
min read
Sports
Tournaments
How To Run a Round Robin Tournament
Created by
Vince Ocampo
•
May 27, 2025
•
1
min read
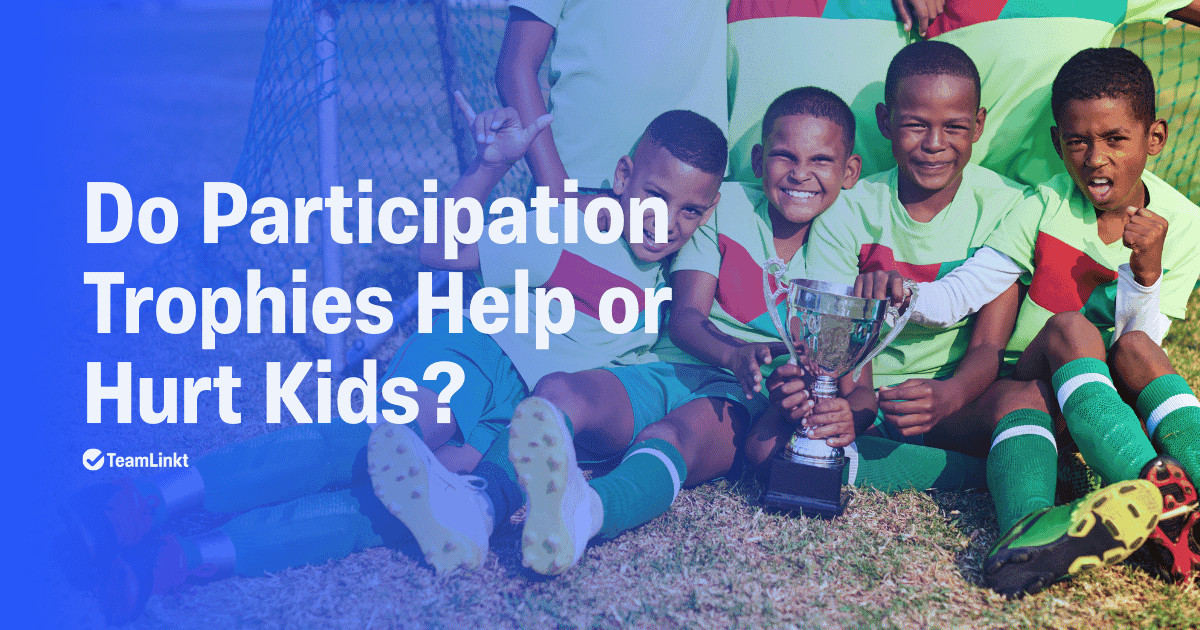
Sports
Player Development
Do Participation Trophies Help or Hurt Kids in Sports?
Created by
Zach Yuzdepski
•
May 21, 2025
•
1
min read
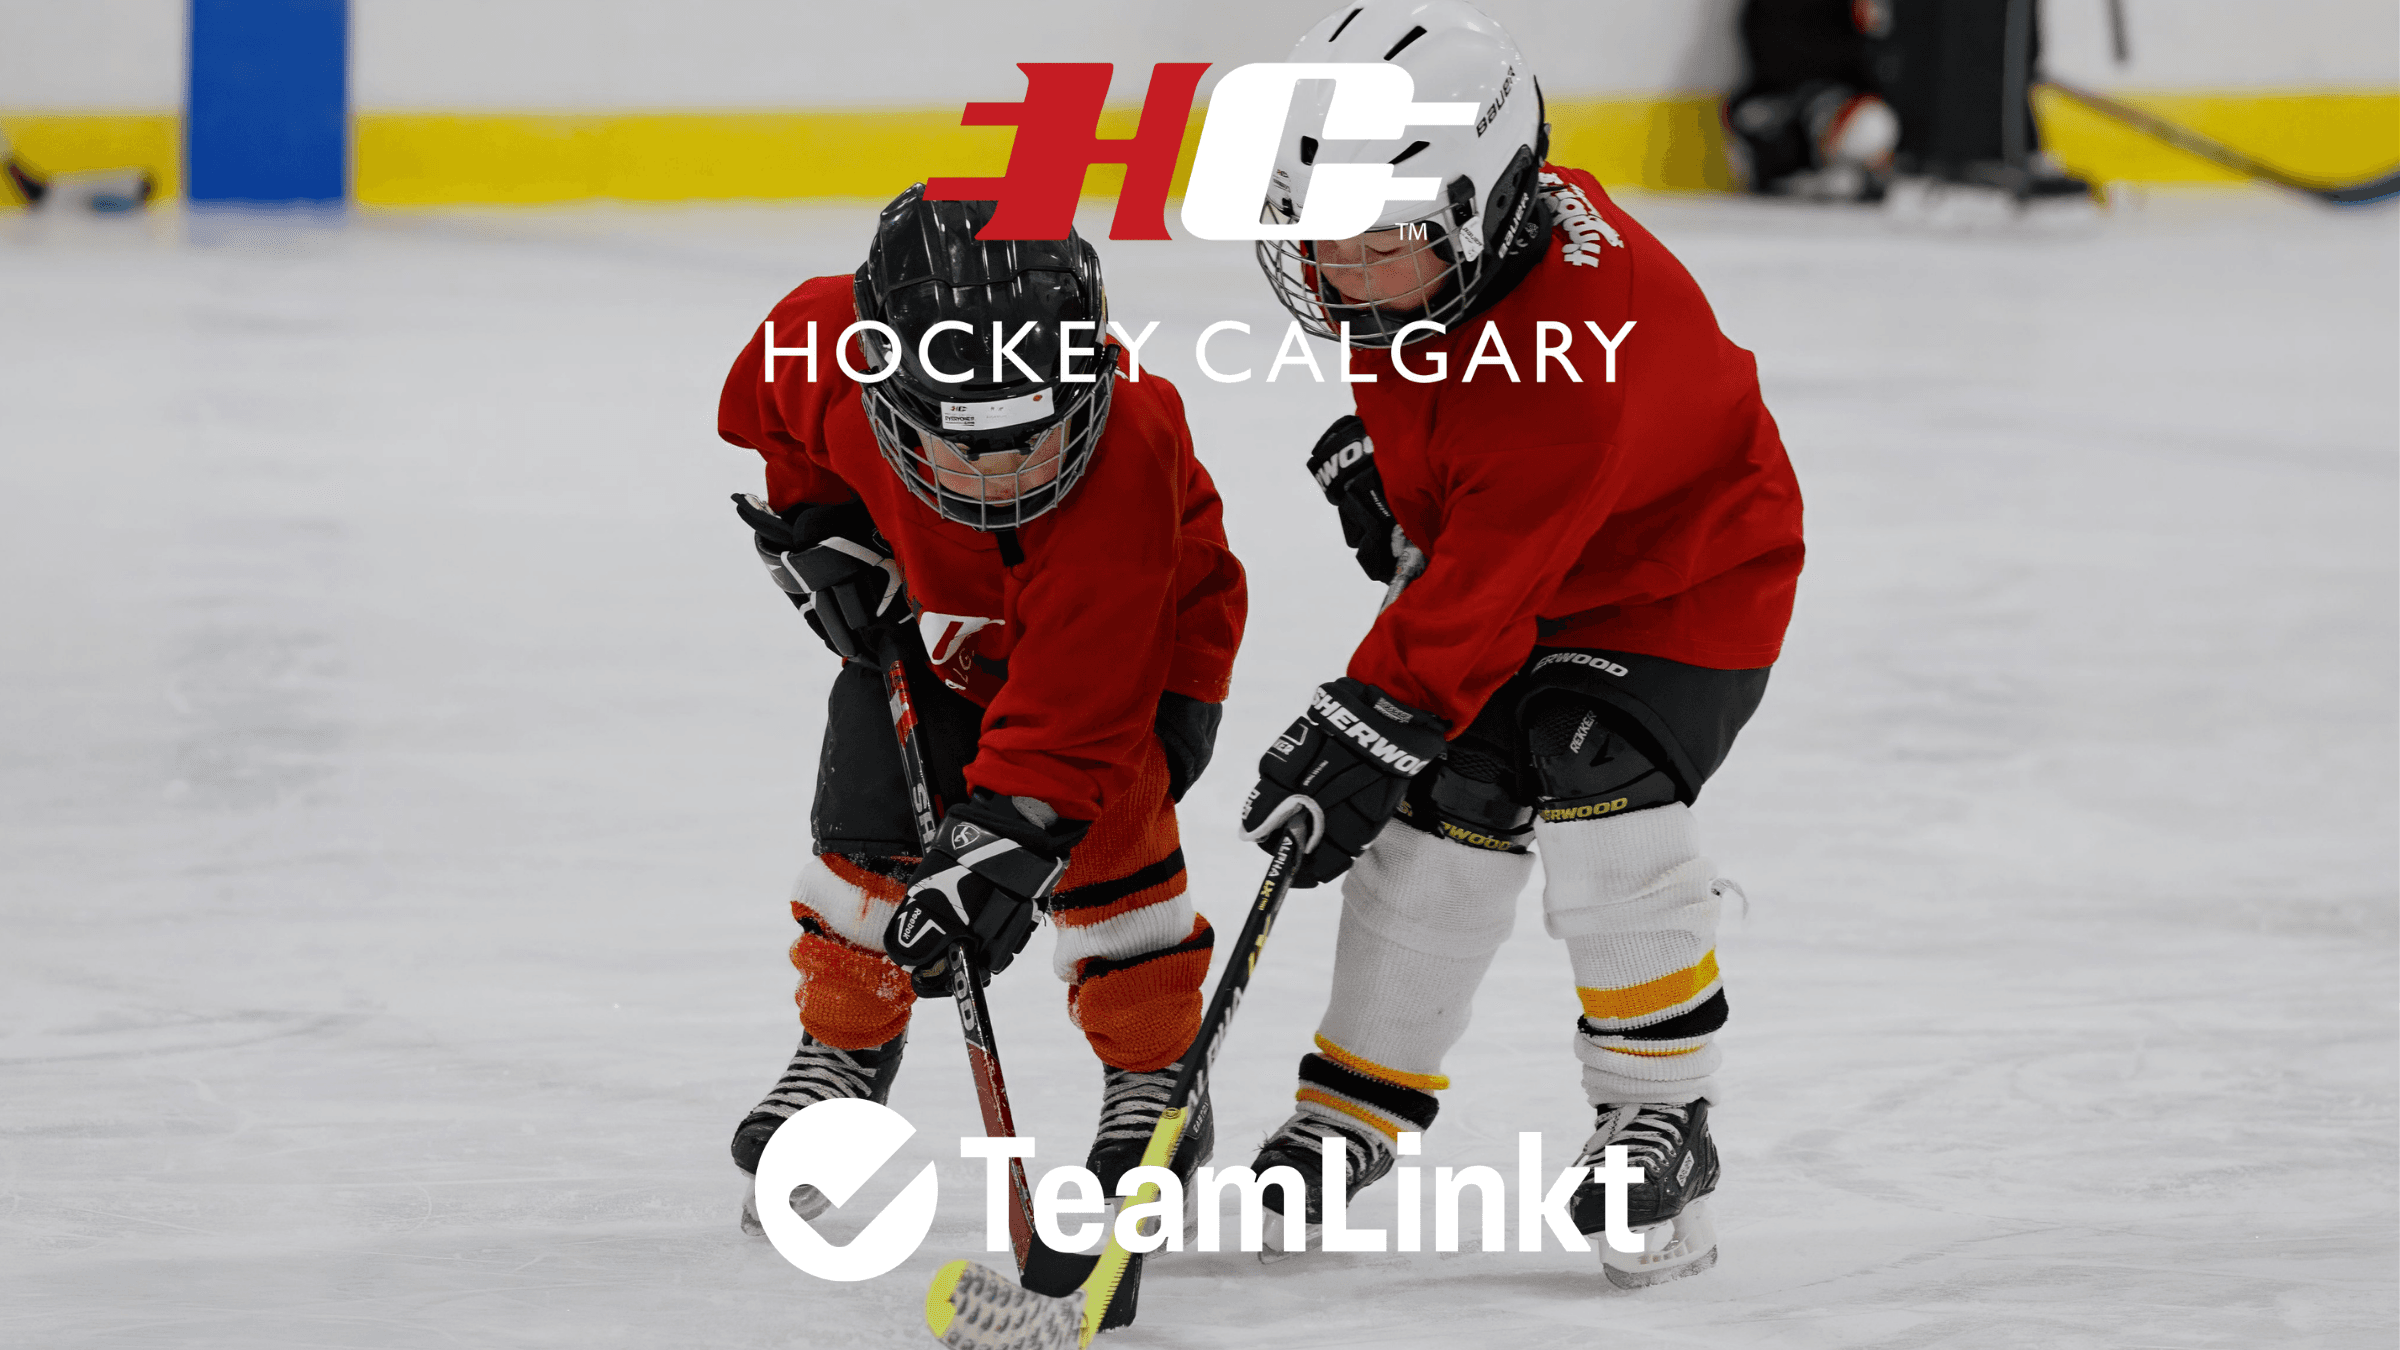
Announcements
Transforming Hockey Calgary: A New Partnership with TeamLinkt
Created by
Vince Ocampo
•
May 14, 2025
•
1
min read

Sports
Softball
Softball vs. Baseball: Everything You Need to Know
Created by
Zach Yuzdepski
•
May 9, 2025
•
1
min read

Sports
Player Development
6 Signs Your Child Should Quit a Sport
Created by
Zach Yuzdepski
•
Apr 30, 2025
•
1
min read
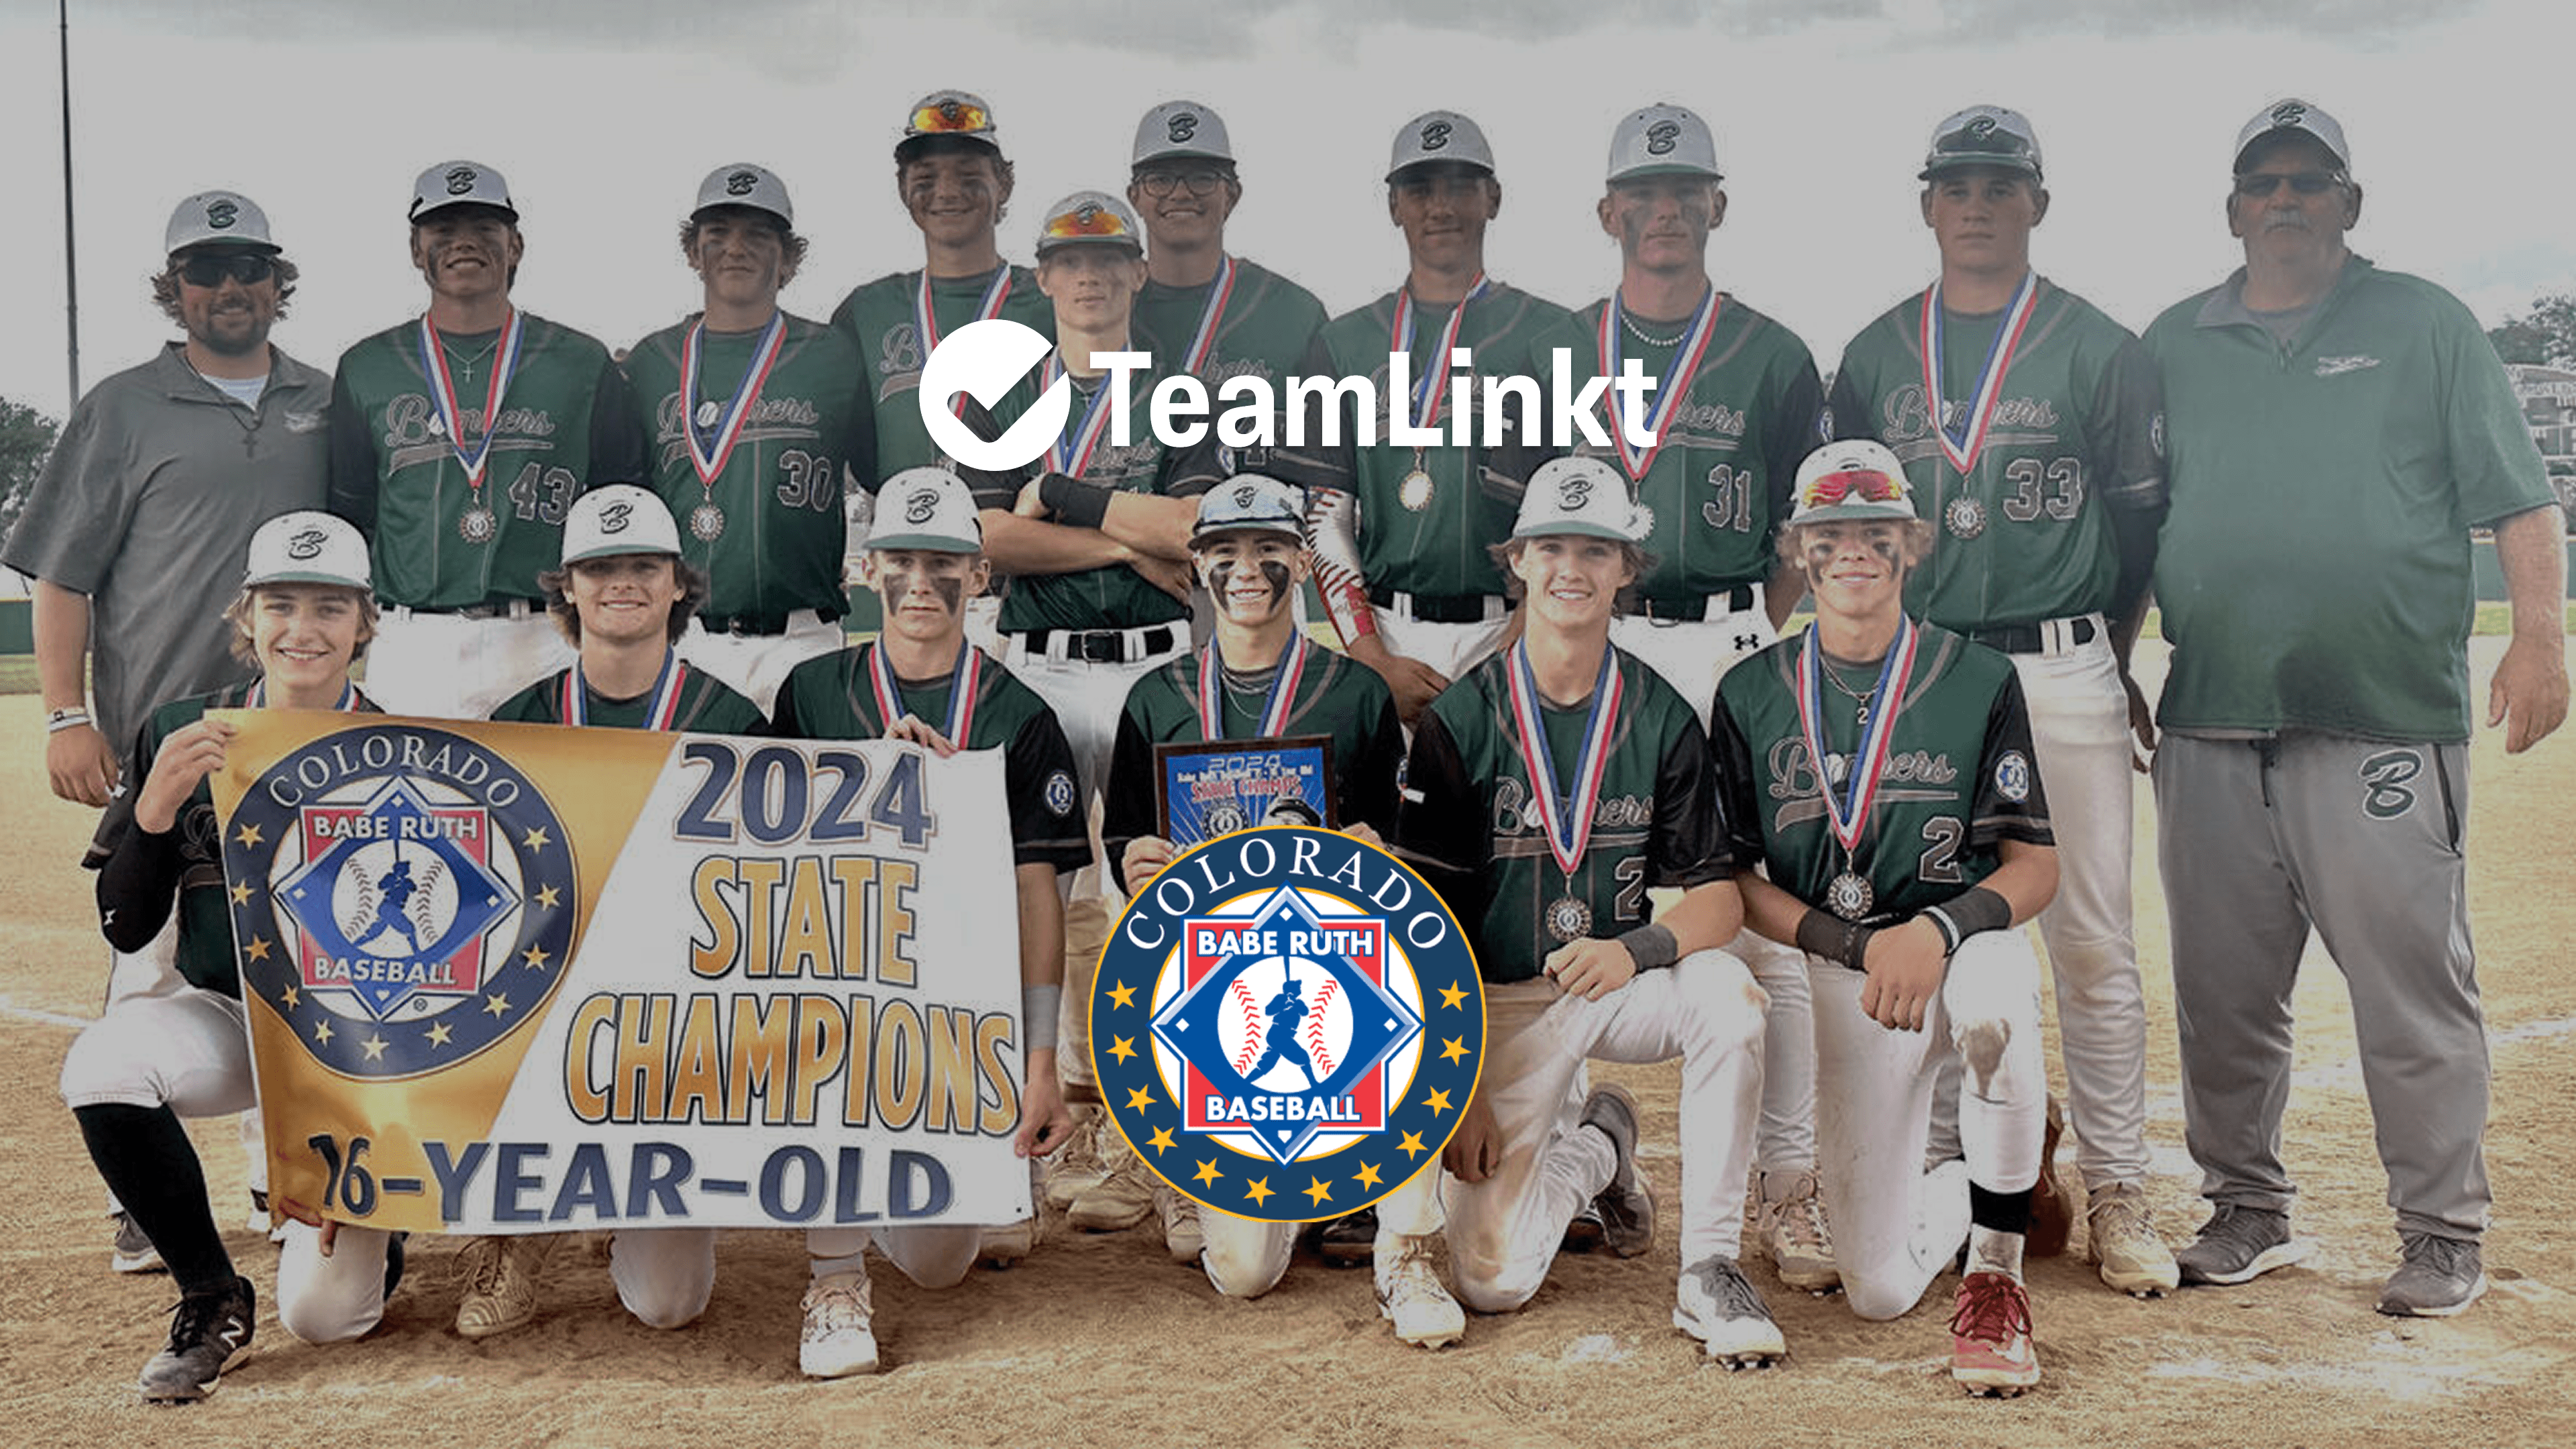
Announcements
A New Playbook: Colorado Babe Ruth Baseball Teams Up with TeamLinkt
Created by
Vince Ocampo
•
Apr 24, 2025
•
1
min read

Sports
Fundraising
How to Build Winning Youth Sports Sponsorship Packages
Created by
Zach Yuzdepski
•
Apr 21, 2025
•
1
min read
Load more
All
Announcements
Case Studies
Competitors
Features
Sports
Sports
50 Companies Wanting to Sponsor Athletes in Youth Sport
Description goes here
Created by
Vince Ocampo
•
Jul 4, 2025
•
1
min read
Sports
How to Run a Standout Tournament with TeamLinkt
Description goes here
Created by
Vince Ocampo
•
Jun 25, 2025
•
1
min read
Sports
Are Youth Sports Too Competitive?
Description goes here
Created by
Vince Ocampo
•
Jun 17, 2025
•
1
min read
Sports
Tournaments
How To Run a Round Robin Tournament
Description goes here
Created by
Vince Ocampo
•
May 27, 2025
•
1
min read
Sports
Player Development
Do Participation Trophies Help or Hurt Kids in Sports?
Description goes here
Created by
Zach Yuzdepski
•
May 21, 2025
•
1
min read
Announcements
Transforming Hockey Calgary: A New Partnership with TeamLinkt
Description goes here
Created by
Vince Ocampo
•
May 14, 2025
•
1
min read
Sports
Softball
Softball vs. Baseball: Everything You Need to Know
Description goes here
Created by
Zach Yuzdepski
•
May 9, 2025
•
1
min read
Sports
Player Development
6 Signs Your Child Should Quit a Sport
Description goes here
Created by
Zach Yuzdepski
•
Apr 30, 2025
•
1
min read
Announcements
A New Playbook: Colorado Babe Ruth Baseball Teams Up with TeamLinkt
Description goes here
Created by
Vince Ocampo
•
Apr 24, 2025
•
1
min read
Sports
Fundraising
How to Build Winning Youth Sports Sponsorship Packages
Description goes here
Created by
Zach Yuzdepski
•
Apr 21, 2025
•
1
min read
Load more
How To’s
How To
Nutrition & Athlete Wellness
Ensuring Safety in Youth Sports: Best Practices for Coaches and Administrators
Created by
Tammi Maharaj
Feb 27, 2025
•
1
min read
How To
Payment & Financial Management
Budgeting Tips for Youth Sports Organizations: Making Every Dollar Count
Created by
Tammi Maharaj
Feb 7, 2025
•
1
min read
How To
Parent & Community Engagement
Overcoming Common Challenges in Volunteer Recruitment and Engagement in Youth Sports
Created by
Tammi Maharaj
Feb 5, 2025
•
1
min read
How To
Parent & Community Engagement
How to Build a Strong Brand for Your Youth Sports Organization
Created by
Tammi Maharaj
Feb 4, 2025
•
1
min read
How To
Registration
How to Easily Get Background Checks During Youth Sports Registration | TeamLinkt's Partnership with Certn
Created by
Tammi Maharaj
May 13, 2023
•
1
min read
How To
Tournaments
How to Successfully Run a Tournament for Your Youth Sports Organization with TeamLinkt
Created by
Tammi Maharaj
Oct 4, 2023
•
1
min read
How To
Nutrition & Athlete Wellness
How to Take the Stress Out of Registration for Your Youth Sports Organization | TeamLinkt
Created by
Tammi Maharaj
May 2, 2024
•
1
min read
Get Started With TeamLinkt Today
Switch to TeamLinkt for free, and transform the way you manage sports.
Get Started With TeamLinkt Today
Switch to TeamLinkt for free, and transform the way you manage sports.
Sports
Features
Solutions
Compare
Company
All rights reserved by TeamLinkt Inc.
Copyright © 2024
Sports
Features
Solutions
Compare
Company
All rights reserved by TeamLinkt Inc.
Copyright © 2024